Brother LS2125i Sewing Machine: A Comprehensive Guide
Embark on a journey to unlock the full potential of your Brother LS2125i! This guide provides detailed instructions,
from initial setup to advanced techniques, ensuring a seamless sewing experience.
Welcome to the world of sewing with the Brother LS2125i! This user-friendly sewing machine is designed for both beginners and experienced sewists, offering a blend of simplicity and functionality. It’s a fantastic choice for everyday sewing projects, quick repairs, and crafting endeavors.
The LS2125i boasts a lightweight design, making it easily portable for classes or sewing groups. Don’t let its compact size fool you; it’s packed with essential features, including a variety of stitch patterns and adjustable settings. This comprehensive guide will walk you through every step, from unboxing and setup to mastering advanced techniques.
Whether you’re a complete novice or looking to upgrade your current machine, the Brother LS2125i provides a reliable and enjoyable sewing experience. Prepare to explore your creativity and bring your sewing visions to life with this versatile machine!
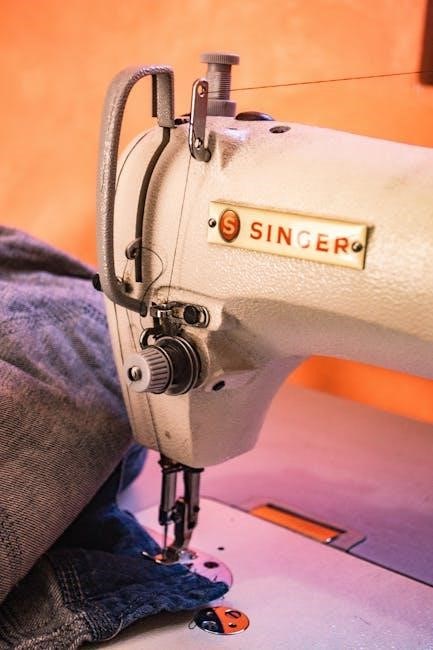
Key Features and Specifications
The Brother LS2125i is brimming with features designed for ease of use and versatility; It offers 10 built-in stitch patterns, including straight stitch, zigzag stitch, and buttonhole stitch, catering to a wide range of projects. A prominent feature is its automatic needle threader, simplifying a traditionally tedious task.
Key specifications include an automatic bobbin winder, adjustable stitch length and width, and a free arm for sewing cuffs and sleeves. The machine operates at a comfortable sewing speed, suitable for both beginners and experienced users. It’s compatible with standard 90/14 needles and utilizes a drop-in bobbin system for convenient threading.
Furthermore, the LS2125i is lightweight (approximately 15.4 lbs) and features a durable construction. It’s powered by a standard AC adapter and includes essential accessories like a seam ripper, cleaning brush, and various presser feet. This machine truly balances affordability with functionality.
Getting Started: Initial Setup
Prepare for creativity! This section guides you through the initial setup of your Brother LS2125i, ensuring a smooth start to your sewing adventures.
Unboxing and Component Checklist
Congratulations on your new Brother LS2125i! Carefully unpack the sewing machine and verify all components are present. Your box should include the main sewing machine unit, a power cord, a foot controller, a variety of presser feet (standard zig-zag, buttonhole, and potentially others depending on the bundle), a set of needles, bobbins, a screwdriver, a seam ripper, a cleaning brush, and the operation manual.
Inspect each item for any damage that may have occurred during shipping. Refer to the included parts diagram in your manual to visually confirm you have everything listed. Don’t discard the packaging until you’re certain all parts are accounted for. If anything is missing or damaged, contact Brother customer support immediately for assistance. Proper inventory now prevents frustration later!
Familiarize yourself with each component’s purpose before proceeding. The manual provides detailed illustrations and descriptions. Keeping this checklist handy during setup will streamline the process.
Powering On and Basic Machine Inspection
Before your first stitch, connect the power cord to the machine and a grounded outlet. Ensure the power switch is in the “OFF” position before plugging it in. Once connected, turn the machine on using the power switch. Listen for the motor to engage smoothly. A brief hum indicates proper power connection.
Visually inspect the machine. Check the handwheel moves freely without resistance. Gently turn it towards you. Observe the needle bar moving up and down. Confirm the presser foot lever operates smoothly, raising and lowering the foot. Examine the bobbin area; it should be clean and empty.
Test the foot pedal. Gently press the pedal to observe the sewing speed. The needle should begin to move in a controlled manner. If the machine doesn’t respond, double-check the power connection and foot pedal cable. Refer to the manual’s troubleshooting section if issues persist.
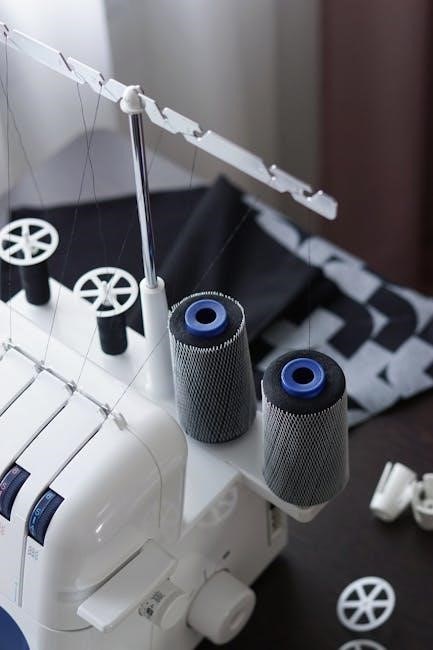
Winding the Bobbin
Begin by placing the spool of thread onto the spool pin, securing it with the spool cap. Guide the thread through the thread guide, ensuring it’s properly seated. Next, pass the thread through the tension disc – this controls the bobbin winding tension.
Wrap the thread several times around the bobbin, manually, to initiate the winding process. Insert the bobbin onto the bobbin winder spindle, pushing it firmly into place. Engage the bobbin winder by sliding the bobbin winder lever to the right.
Press the foot pedal gently to start the winding process. The machine will automatically stop when the bobbin is full. Disengage the bobbin winder lever and remove the fully wound bobbin. Trim the thread end and you’re ready for threading!
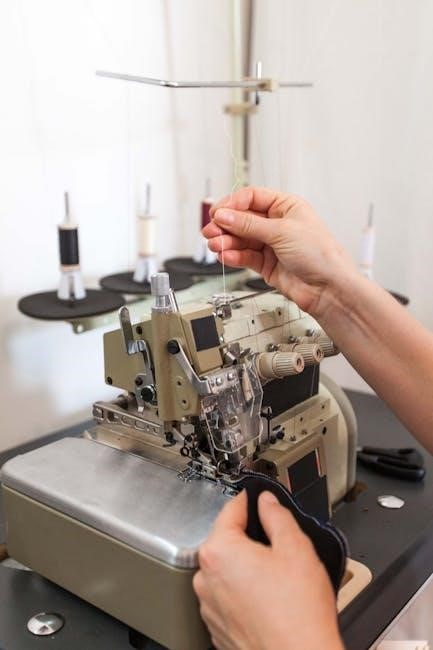
Threading the Upper Thread
Start with the machine in the upright position and the presser foot lifted. Raise the needle to its highest point by turning the handwheel towards you. Place the spool of thread on the spool pin, securing it with the spool cap.
Guide the thread through the first thread guide, then down and around the tension discs. Continue threading through the take-up lever, ensuring the thread is securely seated within the lever’s hook. Next, thread the needle clamp from back to front.
Finally, thread the needle from front to back. Pull a sufficient length of thread through the needle – approximately 3-4 inches. Your machine is now ready for bobbin threading and sewing. Double-check each step for proper thread placement!
Threading the Bobbin Thread
Begin by ensuring a fully wound bobbin is in place. Locate the bobbin case under the needle plate; a clear cover usually protects it. Open this cover to access the bobbin area. Insert the bobbin into the bobbin case, ensuring it rotates freely and in the correct direction – typically counter-clockwise.
Now, hold the thread end gently and guide it into the tension spring of the bobbin case. You should feel a slight click as the thread seats properly. Pull approximately 4-6 inches of thread through the opening in the bobbin case.
Close the bobbin cover and gently pull the thread end upwards. It should lift the needle. You are now ready to begin sewing with both the upper and bobbin threads correctly threaded!
Basic Sewing Operations
Master fundamental techniques with ease! This section details stitch selection, length/width adjustments, straight stitching, backstitching, and presser foot changes for optimal results.
Selecting Stitch Patterns
The Brother LS2125i boasts a variety of built-in stitch patterns, offering versatility for diverse sewing projects. To select a stitch, locate the stitch selection dial, typically positioned on the front of the machine. This dial features a chart illustrating each available stitch.
Rotate the dial until the desired stitch number aligns with the indicator mark. Common stitches include straight stitch (for general sewing), zigzag stitch (for finishing raw edges and stretch fabrics), and buttonhole stitch (for creating professional-looking buttonholes).
Experiment with different stitch patterns to achieve various decorative effects. Refer to the machine’s manual for a complete list and recommended uses for each stitch. Ensure the correct presser foot is installed for the chosen stitch to guarantee optimal performance and stitch quality. Practice on scrap fabric before starting your project!
Adjusting Stitch Length and Width
Precise control over stitch length and width is crucial for achieving professional-looking results with your Brother LS2125i. The stitch length dial, usually located near the stitch selection dial, allows you to adjust the length of each stitch; Longer stitch lengths are ideal for basting or sewing thicker fabrics, while shorter lengths are suitable for delicate materials.
The stitch width dial controls the width of zigzag stitches and other decorative patterns. Increasing the width creates a broader stitch, while decreasing it narrows the stitch. Always test your settings on a scrap piece of fabric before sewing your actual project.
Refer to your machine’s manual for recommended stitch length and width settings for different fabric types and applications. Fine-tuning these adjustments ensures optimal stitch formation and fabric compatibility.
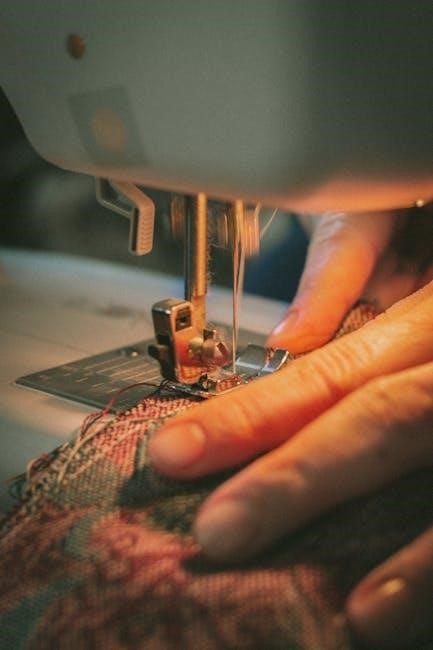
Sewing Straight Stitches
Mastering the straight stitch is fundamental to any sewing project with your Brother LS2125i. Begin by placing your fabric under the presser foot, aligning the desired seam allowance with the guide markings on the needle plate. Gently lower the presser foot to secure the fabric.
Slowly depress the foot pedal to begin sewing, guiding the fabric gently – do not pull or push it. The machine’s feed dogs will automatically move the fabric forward at a consistent pace. Maintain a consistent speed for a uniform stitch line.
Keep your eyes focused slightly ahead of the presser foot, using the guide markings as a reference. For longer seams, use both hands to support the fabric’s weight. Practice makes perfect; consistent practice will yield beautifully straight seams!
Reverse Sewing (Backstitching)
Reinforcing your seams with backstitching is crucial for durability, preventing unraveling with wear and washing. On your Brother LS2125i, the reverse lever is typically located on the left side of the machine. Push this lever forward to engage reverse sewing.
Begin your seam as usual with a straight stitch. When you reach the end of the seam, push the reverse lever and sew backwards over approximately 1/2 inch of stitching. Release the lever to return to forward sewing and continue your seam.
Repeating this back-and-forth process – a few stitches forward, a few stitches back – at the beginning and end of each seam securely anchors the thread. Practice controlling the transition between forward and reverse for a neat, reinforced finish.
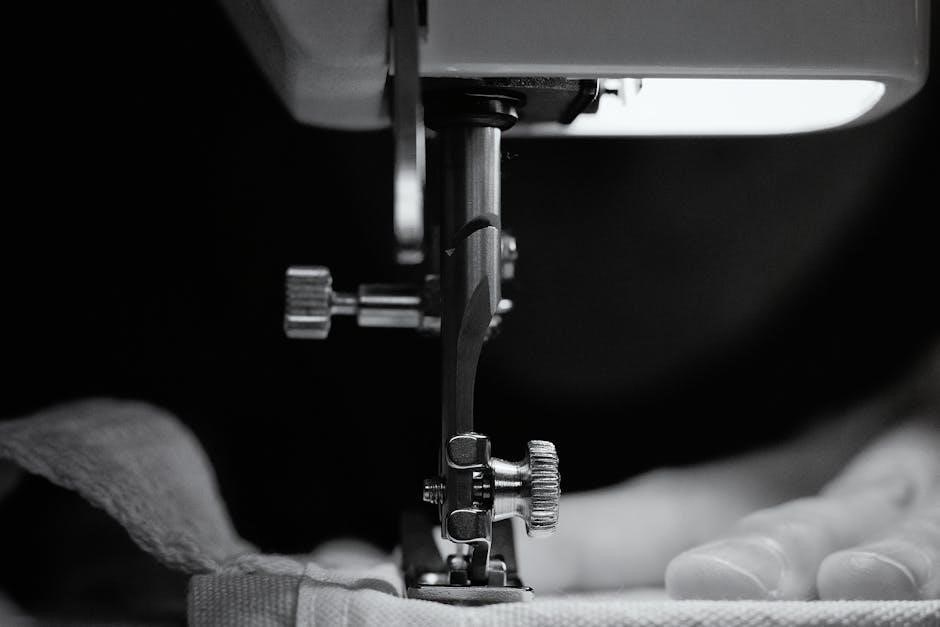
Changing the Presser Foot
Adapting your Brother LS2125i for various sewing tasks requires changing the presser foot. First, ensure the machine is powered off. Locate the presser foot lever at the back of the presser foot holder; lift it to release the current foot.
Press the release button, usually located at the front of the presser foot holder. This allows you to gently snap the existing foot forward and off the holder. Align the new presser foot with the holder, ensuring it clicks securely into place.
Lower the presser foot lever to confirm the new foot is firmly attached. Different feet – like a zipper foot, buttonhole foot, or overcasting foot – expand the machine’s capabilities. Refer to your accessory box and manual to identify the correct foot for your project.
Advanced Features & Techniques
Explore beyond basics! Master the free arm for cuffs, buttonholes with ease, and zipper insertion. Fine-tune thread tension for professional results every time.
Using the Free Arm
The free arm is a remarkably useful feature on your Brother LS2125i, specifically designed for sewing cylindrical items like sleeves, pant legs, and collars. To utilize it, simply detach the extension table by pressing the release button – it slides off easily.
Now, your sewing machine transforms, presenting a smaller, open space ideal for maneuvering fabric around the needle. Slide the garment piece onto the free arm, ensuring the seam allowance is aligned with the guide markings on the machine bed.
This allows for precise and controlled stitching around curves and tight spaces. Remember to adjust your stitch length as needed for the fabric type and desired finish. The free arm significantly simplifies projects involving circular shapes, offering greater control and a more professional outcome. Practice with scrap fabric first to become comfortable with this technique!
Buttonhole Sewing – Step-by-Step
Creating buttonholes on the Brother LS2125i is streamlined with its dedicated buttonhole foot. First, attach the buttonhole foot to your machine. Select the buttonhole stitch – typically designated with a flower-like symbol – on your stitch selection dial.
Measure and mark the precise location for your buttonhole on the fabric. Place the fabric under the presser foot, aligning the buttonhole marking with the guide on the buttonhole foot. Lower the presser foot and begin sewing; the machine will automatically stitch the buttonhole outline.
Typically, it completes the outline in several passes. Once finished, carefully remove the fabric and use a seam ripper to open the buttonhole bars. Finally, attach your chosen button, ensuring it aligns perfectly with the newly created buttonhole. Practice on scrap fabric to perfect your technique!
Zipper Insertion Guide
Inserting a zipper with the Brother LS2125i requires a zipper foot – switch to this foot before beginning. Position the zipper face down, centered under the presser foot, with the zipper teeth slightly to the right. Select a straight stitch and begin sewing close to the zipper teeth, ensuring consistent alignment.
Once you reach the top, stop sewing with the needle down. Lift the presser foot, reposition the zipper, and continue sewing down the other side. Repeat this process for both sides of the zipper. For an invisible zipper, utilize the invisible zipper foot and follow the specific markings on the foot for precise stitching.
Backstitch at the beginning and end of each seam to secure the zipper. Practice on scrap fabric to gain confidence and achieve a professional finish. Remember to adjust stitch length as needed for optimal results.
Adjusting Thread Tension
Proper thread tension is crucial for achieving balanced stitches. If your stitches appear loopy on the top, the upper tension is likely too loose; increase the tension dial setting. Conversely, if the bobbin thread pulls through to the top, the upper tension is too tight – decrease the setting.
Begin by testing on a scrap of the fabric you’ll be using for your project. Adjust the tension dial in small increments, sewing a test seam after each adjustment. Look for stitches where the top and bobbin threads interlock evenly within the fabric layers.
The ideal tension depends on the fabric type and thread weight. Heavier fabrics and thicker threads generally require higher tension. Refer to the manual’s tension chart as a starting point, and always prioritize visual inspection for balanced stitches.
Maintenance and Troubleshooting
Keep your LS2125i running smoothly with regular cleaning and oiling! This section details solutions for common issues like thread jams and skipped stitches, ensuring longevity.
Cleaning the Machine
Regular cleaning is vital for maintaining optimal performance of your Brother LS2125i. Dust and lint buildup can cause malfunctions and affect stitch quality. Always disconnect the power before cleaning! Begin by removing the needle and presser foot. Use the included brush to gently remove lint from the bobbin area, feed dogs, and around the needle plate.
For a more thorough clean, a small vacuum cleaner with a brush attachment can be used to remove stubborn lint. Never use compressed air, as it can blow dust into sensitive areas. Wipe down the exterior of the machine with a soft, damp cloth. Avoid harsh chemicals or abrasive cleaners. Pay attention to the areas around the tension discs and under the throat plate.
Periodically, you may need to clean the bobbin race. Refer to your full instruction manual for detailed guidance on accessing and cleaning this area. Consistent cleaning will extend the life of your machine and ensure consistently beautiful results. Remember to re-oil after cleaning (see the next section).
Oil Points and Lubrication
Proper lubrication ensures smooth operation and prevents wear on your Brother LS2125i. Always use sewing machine oil – never household oil! Refer to your machine’s diagram (found in the full instruction manual) to identify the designated oil points. These typically include the bobbin race, hook assembly, and various moving parts within the machine.
Apply a small drop of oil to each point, using the oil applicator included with your machine. Avoid over-oiling, as excess oil can attract dust and create a sticky residue. After oiling, operate the machine slowly for a few minutes to distribute the oil evenly. Wipe away any excess oil with a clean, soft cloth.
Regular lubrication, ideally after every bobbin change or significant use, will keep your machine running quietly and efficiently. Avoid disassembling the machine for oiling unless specifically instructed in the manual. Consistent maintenance extends the lifespan of your Brother LS2125i and guarantees optimal performance.
Troubleshooting Common Issues (Thread Jamming, Skipped Stitches)
Thread jamming is often caused by improper threading, old needles, or lint buildup. Re-thread both the upper and bobbin threads, ensuring they are correctly seated in all guides and tension discs. Clean the bobbin area thoroughly, removing any lint or debris. Skipped stitches frequently indicate a dull or incorrect needle size for your fabric.
Always use a new needle for each project, or when changing fabric types. Verify the needle is inserted correctly and is the appropriate type (universal, ballpoint, etc.). Check the thread tension; incorrect tension can lead to both jamming and skipped stitches. Ensure the presser foot is down while sewing, as this engages the feed dogs.
If problems persist, consult the detailed troubleshooting section in your Brother LS2125i instruction manual for specific solutions and diagrams. Remember to always unplug the machine before attempting any internal cleaning or adjustments.
Needle Replacement Guide
Replacing the needle on your Brother LS2125i is a simple process, crucial for optimal sewing performance. First, always power off and unplug the machine. Locate the needle screw on the needle clamp. Loosen the screw with the screwdriver (usually included with the machine).
Gently remove the old needle, noting its flat side. Insert the new needle with the flat side facing the back of the machine. Ensure the needle is pushed up as far as it will go into the needle clamp. Tighten the needle screw securely, but avoid over-tightening.
Using the correct needle type and size for your fabric is vital. Refer to your Brother LS2125i instruction manual for a chart detailing needle recommendations. A bent or damaged needle can cause skipped stitches or fabric damage, so regular replacement is essential.
Foot Pedal Issues and Solutions
If your Brother LS2125i’s foot pedal isn’t responding, several solutions can be attempted. First, ensure the pedal is firmly plugged into the correct port on the machine – sometimes it can become slightly dislodged. Check the power cord connection as well, confirming it’s securely connected to both the machine and the wall outlet.
Try a different wall outlet to rule out a power supply issue. If the pedal still doesn’t work, inspect the cord for any visible damage, like cuts or fraying. Do not use a damaged cord. Gently clean around the pedal’s connector with a dry cloth to remove any dust or debris.
If problems persist, consult the Brother LS2125i instruction manual for specific troubleshooting steps or contact Brother customer support for assistance. A faulty foot pedal may require replacement.